Painting a ceiling can be tricky, but with steps, you can get professional-looking results. This guide gives you pro tips for Painting Ceiling. We will help you to make ceiling painting easier, from getting the surface ready to choosing the best paint and applying it the right way. So let’s start!
Table of Contents
Establish a Strong Foundation
Getting the ceiling ready is the first and most important step. Cover your furniture and floors with drop cloths or plastic sheets to protect them from drips. Remove or cover light fixtures to keep them clean.
Clean the ceiling to get rid of dust, grease, and cobwebs since these can stop the paint from sticking. If you have stains, smoke damage, or mold, fix these problems before painting. Use a stain-blocking primer to hide spots and create a smooth base. Mold-resistant primers work best in humid areas like bathrooms.
Fix any cracks or holes using spackle or joint compound, and sand them smooth once dry. A primer also helps the paint stick better and prevents stains from showing through. Choose oil-based primers for tough stains or water-based ones for general use.
With a clean, smooth surface, your ceiling will look great once painted.
Use the Right Paint
Picking the right paint for your Ceiling is key to making your ceiling look smooth and clean. Use low-spatter paint to avoid messy drips and make cleanup easier. Stain-blocking paints are great for covering water stains or discolorations.
Flat finishes work best for most ceilings because they hide imperfections and don’t reflect light. If you need easier cleaning, like in kitchens or bathrooms, go for a matte or eggshell finish.
Use a roller with an extension pole for big areas to save time and effort. Sprayers are faster for large ceilings but need careful masking and ventilation. High-quality paints designed for ceilings will give you the best results.
Get the Direction Right
The way you paint matters, especially when it comes to light. Always paint in strokes that follow the main light source, like windows, to reduce visible roller lines and shadows.
For smooth ceilings, use a roller with a long nap for even coverage. Overlap strokes slightly and keep a wet edge to avoid streaks or lines.
Textured ceilings need a different approach. Use a thicker roller or a sprayer to cover the surface without damaging the texture. If spraying, work in sections and keep the speed and distance consistent to avoid uneven spots.
Paying attention to direction and technique will give you a clean, polished finish.
Focus on Proper Technique
Good rolling techniques make a big difference in how your ceiling looks. Always keep a wet edge to avoid visible lap marks. Roll in straight lines with overlapping strokes to ensure even coverage.
Apply steady pressure without pressing too hard to avoid splatters or uneven spots. Use a roller cover that matches your ceiling type—smooth for flat ceilings and textured for bumpy ones.
If you use an airless sprayer, test it on cardboard first to check the spray pattern. Keep the sprayer moving at a steady speed and distance. Adjust the paint if it’s too thick or thin to ensure it flows evenly.
With these tips, you’ll get a smooth, flawless finish every time.
Additional Pro Tips for Efficiency and Safety
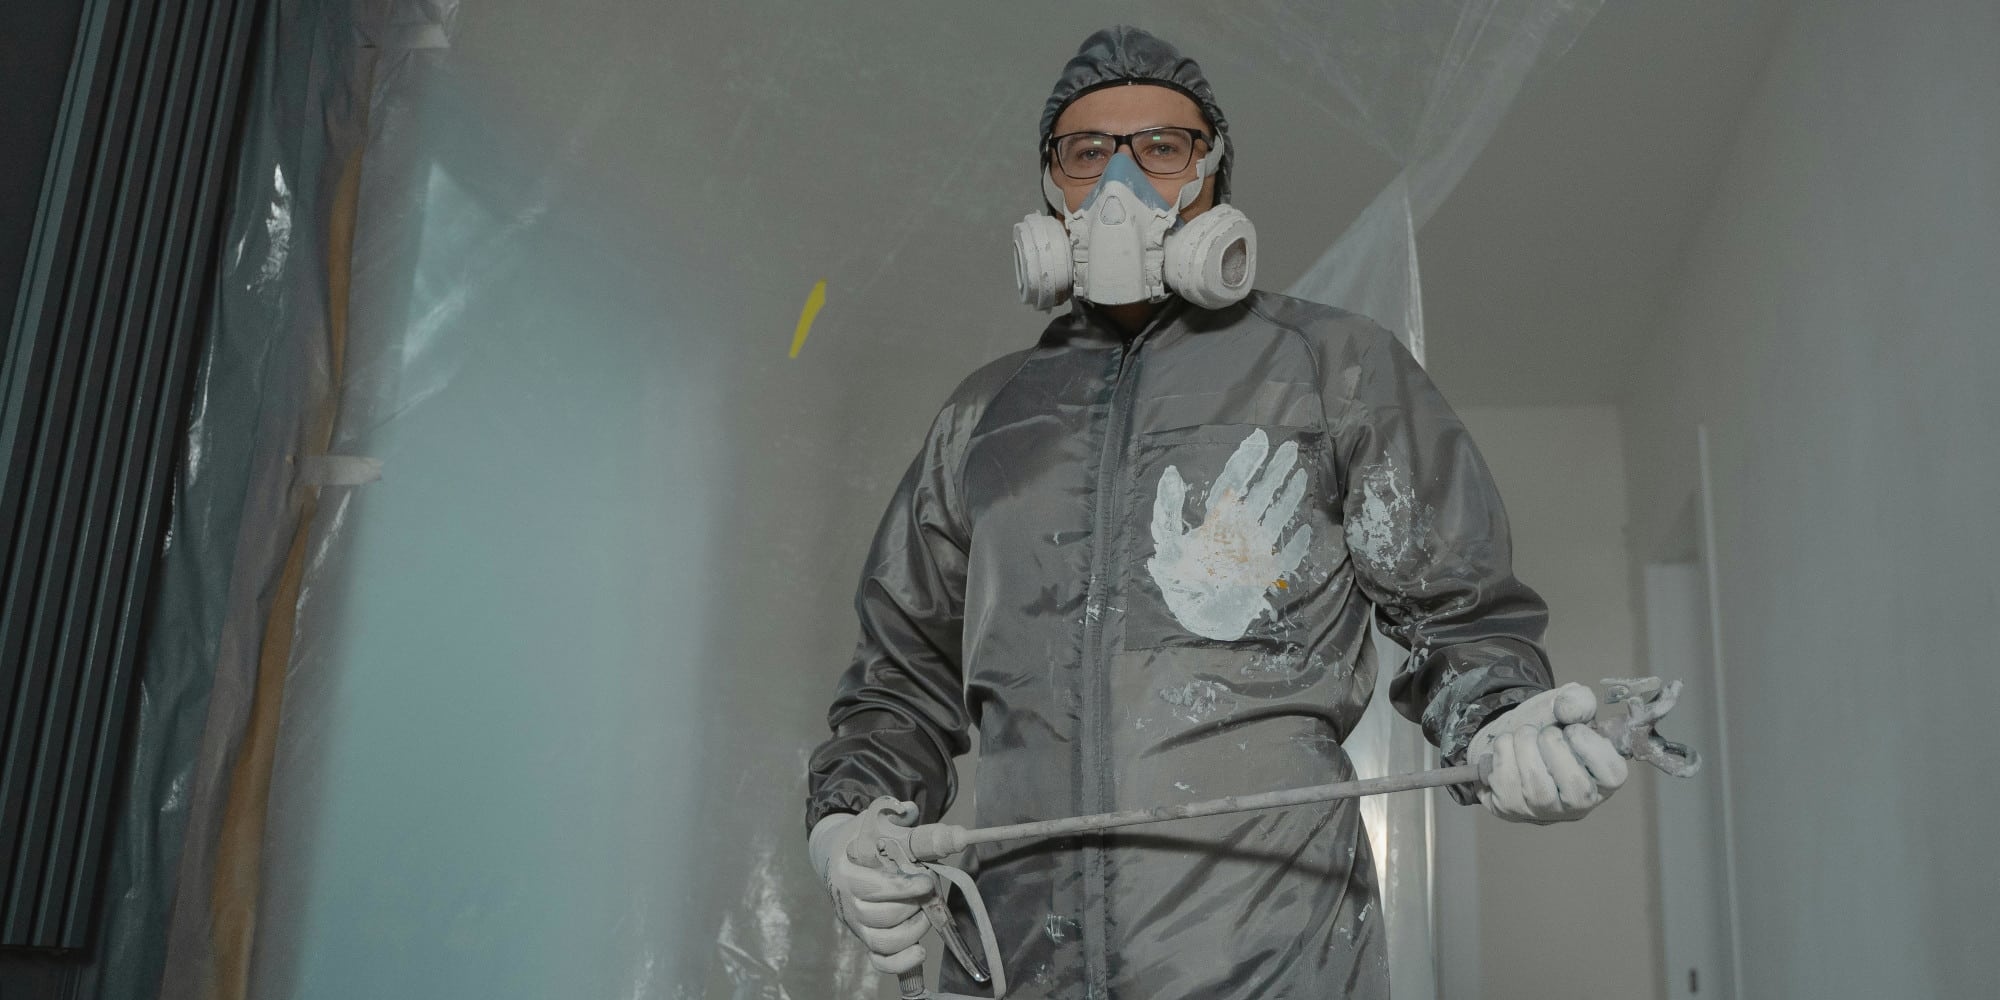
Stay safe and work smart when painting ceilings. Wear safety goggles to protect your eyes from drips, and use larger rollers to cover more area faster.
If you’re spraying, pick low-pressure sprayers with special tips to avoid overspray. Keep the room well-ventilated and clear of clutter to work safely and avoid breathing in fumes.
Paint during cooler parts of the day to prevent the paint from drying too fast, which can cause streaks. Use a secure ladder or an extension pole to avoid reaching too far overhead and straining yourself.
With the right tools and safety steps, you can paint your ceiling quickly and without hassle.
Why Hiring Professional Painters
Our house painters are experts at making ceilings look amazing. Our team uses the latest tools and techniques to give you professional results, whether you’re updating a room or fixing stains.
We save you time and reduce stress by handling everything—from prep to cleanup—so you can enjoy your freshly painted space. We use high-quality, low-spatter paints and advanced methods to ensure a smooth, clean finish.
Why choose us?
- Professional advice for your ceiling type and condition.
- Stain-blocking solutions for water, mold, and smoke damage.
- Time-saving techniques that reduce disruptions.
- Safe and efficient processes that keep your family comfortable.
Trust RGB House Painters for reliable service and beautiful ceilings that enhance your home. Book a consultation today!
Conclusion
Painting a ceiling doesn’t have to be stressful. With proper prep, the right tools, and smart techniques, you can get professional-quality results. Start by cleaning and priming the surface, choose durable paints, and focus on applying them evenly.
Follow these tips, and can create a flawless finish that makes your space look polished and fresh. but if you are seeking professional results and live in London Ontario or surrounding cities, contact us now.
FAQ
What is the best type of paint for ceilings?
Flat or matte paints work best because they hide imperfections and give a smooth, non-shiny look. For humid areas, use mold-resistant or stain-blocking paints.
How do I prevent roller marks on ceilings?
Keep a wet edge and overlap each stroke. Paint toward the main light source to reduce visible lines and shadows.
Should I use a primer before painting a ceiling?
Yes. A primer covers stains, repairs damage, and helps paint stick better. Use stain-blocking primers for tough spots or mold-resistant primers for bathrooms.
Is it better to roll or spray paint a ceiling?
Both work well. Rolling is great for small areas and textured ceilings, while spraying is faster for large, smooth ceilings. Make sure to mask and ventilate the room properly if spraying.
How do I fix uneven paint coverage on a ceiling?
Let the paint dry, then apply a second coat using even strokes and steady pressure. Keep a wet edge to avoid streaks or lap marks.