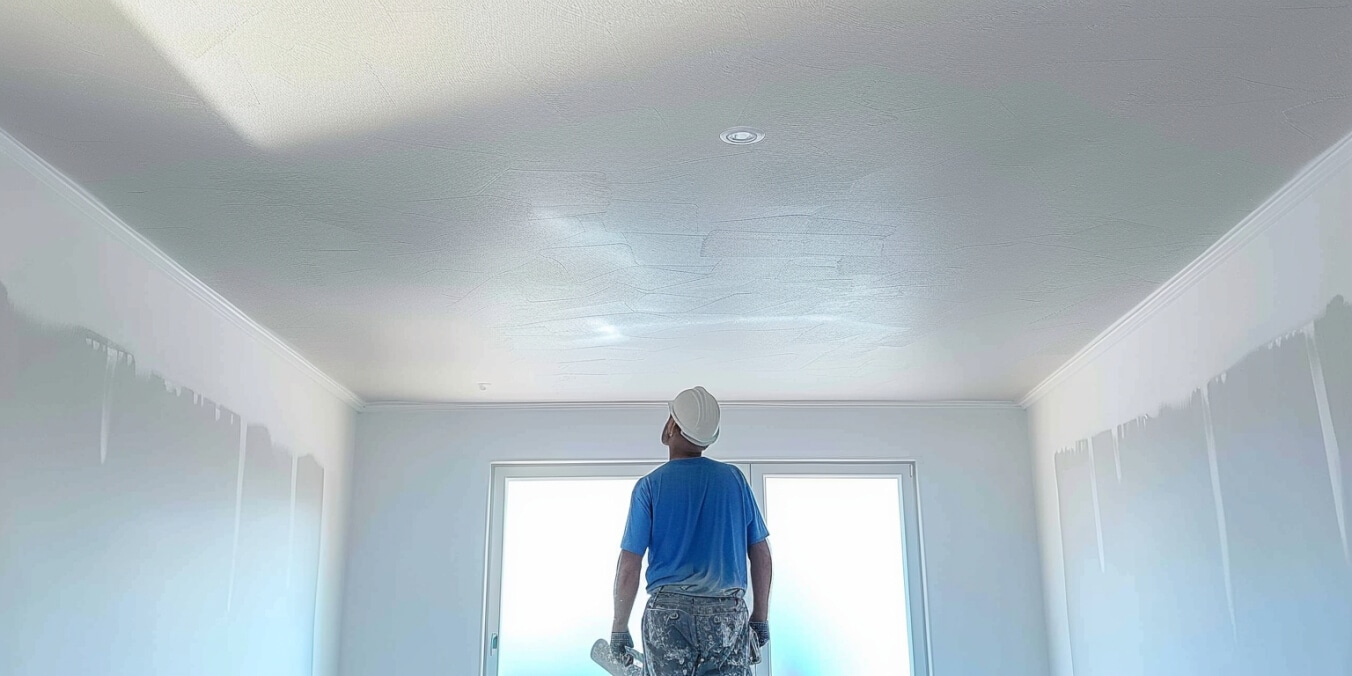
Ceiling painting is harder than you think. it might look easy, but it can quickly turn into a challenging job. Working overhead for long periods can make your arms and neck ache, and ceilings often have stains, cracks, or uneven surfaces that need fixing before you even get to the painting part.
Plus, dealing with drips and splatters adds to the frustration. Getting a smooth, professional finish takes planning, the right tools, and a lot of patience. This guide will walk you through each step so you’re ready for the hard work that comes with ceiling painting.
Table of Contents
Challenges in The Room
Getting your room ready is one of the hardest parts of painting a ceiling. Gravity is not your friend when you’re painting overhead—any drops of paint can easily land on your floors, furniture, or walls. Start by taking smaller items out of the room and covering larger furniture with plastic sheets. Lay down drop cloths on the floor and tape the edges to make sure they stay in place. Use painter’s tape to protect trims, vents, and light fixtures. Taking the time to prepare properly will save you from a huge cleanup later.
Ceilings also tend to collect dust and grime, so cleaning is important. Wrap vents and light fixtures in plastic or painter’s tape to keep them clean. Seal off doors and windows to stop dust and fumes from spreading to other areas of your home. Good lighting is also key—it helps you spot imperfections and missed spots during prep and painting. Proper preparation takes time but makes the painting process much smoother and reduces headaches later.
Choosing the Right Paint Type for Ceilings
Choosing the right paint for your ceiling can make a big difference. Thin paints, like Dulux Ceiling White, work well for already-white ceilings, but ceilings with stains or repairs need thicker paints, like Taubmans Tradex Flat White, which can hide flaws and give a smooth finish. Ceiling paints are designed to drip less, which is helpful when working overhead.
Related: How to Paint a Textured Ceiling: A Step-by-Step Guide
If your ceiling has stains from water damage, smoke, or grease, you’ll need to use a stain-blocking primer like Taubmans 3-in-1. This primer seals stains and prevents them from bleeding through the paint. In kitchens and bathrooms, where grease and moisture build up, grease-resistant or moisture-resistant paints work best. These paints not only look good but also last longer.
Dealing with Stains and Repairs
Stains and damage make ceiling painting even harder. Ceilings can have grease, dirt, and water spots that don’t come off with simple cleaning. Use a degreaser or mild soap to clean these areas first. Then, apply a stain-blocking primer like Taubmans 3-in-1 to seal the stains and create a solid base for your paint. Some stubborn stains may need multiple coats of primer to fully cover.
Repairs are another hurdle. Cracks, dents, and uneven areas need to be patched with spackle or joint compound. Once dry, sand the surface until it’s smooth. If you skip this step, imperfections will stand out after painting.
For textured ceilings, matching the texture after repairs can be tricky. You may need to feather the edges when sanding to blend the repair into the surrounding area.
Techniques for Success
Painting a ceiling is harder than painting walls because you’re working above your head. Rollers are the best tool for flat ceilings. Load the roller evenly with paint and use a W-pattern to avoid lap marks.
Keep a wet edge as you work to blend the paint smoothly. For textured ceilings, use a thicker roller that can get into grooves and bumps. An extension pole can make the job easier and reduce strain on your arms and neck.
Paint sprayers can save time and give even coverage when it comes to larger spaces. However, sprayers take practice to avoid drips and uneven layers.
Whether you’re using a roller or sprayer, its important to apply steady pressure and avoid putting too much paint on at once. Let each coat dry completely before adding another layer to prevent streaks and smudges.
The Power of Problem-Solving with Paint
Sometimes, ceiling painting calls for creative solutions, especially when you’re dealing with tough stains or tricky surfaces. Start by identifying the problem and using the right products. Layering primers or mixing custom paints can help when matching colors or covering difficult areas.
For big problems, try layering primers or mixing custom paints to match colors. High-coverage primers hide flaws, and specialty paints protect against future stains. Being flexible and creative helps you tackle tricky areas and get great results.
Why Hiring RGB House Painters Is the Right Choice
When you hire RGB House Painters, you’re choosing reliable experts who care about your home. We know you’re busy, so we handle everything—from prep to clean-up—with attention to detail and care. We protect your furniture, floors, and fixtures while delivering a flawless finish.
As trusted painters in London, Ontario, and nearby areas, we bring creativity and skill to every project. Whether your ceiling has stains, textured finishes, or repairs, we’ll make it look amazing. We use top-quality products and the latest techniques to transform your home. Let RGB House Painters take the stress out of painting so you can enjoy the results. if you are in London Ontario or nearby areas, book a free painting consultation today.
Conclusion
Painting a ceiling takes planning, the right materials, and good techniques. Cover furniture and floors with drop cloths and plastic to protect them. Use quality primers and paints to handle stains and repairs.
Preparation, problem-solving, and high-quality products make all the difference. Whether you’re painting at home or in a business, the right tools and methods help you achieve a professional finish.
Ready to update your ceilings? Contact RGB House Painters for expert help in London, Ontario, and surrounding areas.
FAQ
What is the best paint for covering grease stains?
A stain-blocking primer like Taubmans 3-in-1 works great for grease stains. Follow with grease-resistant ceiling paint.
How do I prepare a ceiling for painting?
Clean the surface to remove dirt and grease. Cover furniture and floors with drop cloths, and tape off trims and fixtures.
What tools are needed for ceiling painting?
You’ll need a roller with an extension pole, a paint tray, brushes for edges, drop cloths, painter’s tape, and possibly a sprayer for big spaces.
Can I use regular wall paint on ceilings?
Not recommended. Ceiling paints, like Dulux Ceiling White, are thicker and less likely to drip, giving better coverage.
How do I fix uneven paint coverage?
Apply another coat with even pressure and keep a wet edge to blend smoothly. Priming first also helps get even coverage.